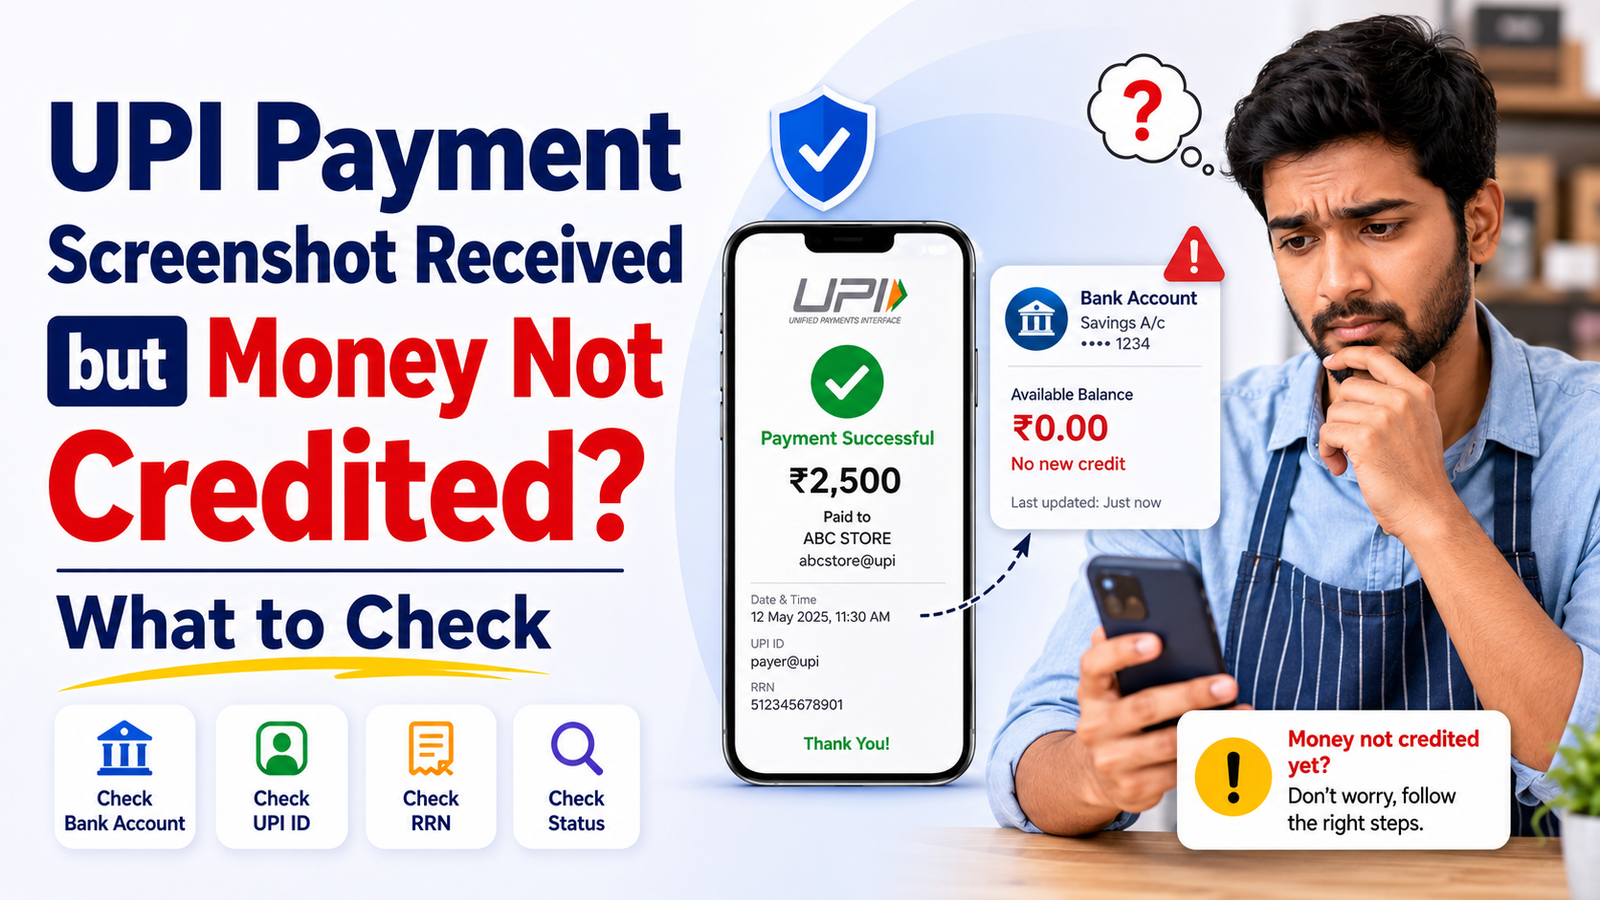
UPI Payment Screenshot Received but Money Not Credited? What to Check
UPI payment screenshot received but money not credited to your account?
This can happen when someone says:
“I have already paid. Check the screenshot.”
The screenshot may show:
Payment Successful
an amount,
a recipient name,
a date and time,
and even a transaction reference number.
But when you open your bank account, the money is not there.
Do not immediately assume that the sender is lying.
But also do not treat a screenshot as final proof that you received the money.
The safest approach is simple:
Check your own account and the actual transaction details first.
A Screenshot Is Not the Same as Receiving Money
A UPI screenshot is only an image of what appeared on someone’s screen.
It does not control your bank account.
It does not move money.
And it does not prove by itself that your account was credited.
A screenshot can represent a genuine transaction.
But an image can also be:
- old,
- incomplete,
- edited,
- taken from another transaction,
- or showing a payment that did not finally complete.
That is why the receiving side should confirm the payment independently.
First, Check Your Own Bank Account
Do not start by studying the sender’s screenshot for ten minutes.
Open your own bank app or account statement first.
Look at recent transactions.
Check whether the expected amount has been credited.
For example, if someone says they paid ₹5,000, look specifically for a ₹5,000 credit around the time of the payment.
Also check:
- date,
- approximate time,
- sender information if shown,
- and transaction reference.
If the money appears correctly in your account, that is much stronger confirmation than a screenshot.
Do Not Rely Only on an SMS Notification
Bank SMS alerts are useful, but they may not always arrive immediately.
So if you did not receive an SMS, do not automatically conclude that the payment failed.
Open:
- your bank app,
- bank statement,
- UPI transaction history,
- or merchant payment dashboard if you use one.
The actual account record matters more than whether your phone made a notification sound.
Check the Correct Bank Account
Many people in India have more than one bank account.
You may use:
- one bank for salary,
- another bank for UPI,
- and perhaps another account for business payments.
If a UPI ID is linked to a different bank account from the one you are checking, the money may have gone to that account.
So confirm:
Which bank account is linked to the UPI ID used for this payment?
Do not check only the account you normally use.
Check the UPI ID or QR Code That Was Used
If the sender paid using a UPI ID, compare it with your current UPI ID.
If they scanned a QR code, check which UPI ID or merchant account that QR belongs to.
A QR code can remain physically displayed for a long time.
For example, a shop may have:
- an older QR,
- a personal QR,
- a business QR,
- or QR codes from different payment providers.
Make sure the sender paid the account you expected.
Recipient Name Is Helpful, but Not Enough
The screenshot may show your name or business name.
That is useful.
But do not stop there.
Check:
- amount,
- UPI ID,
- bank account,
- date,
- time,
- transaction status,
- and reference number.
A familiar-looking name alone is not enough to confirm that your account received the money.
Ask the Sender to Open the Transaction Live
If the money is not visible, ask the sender to open the transaction inside their UPI app.
This is more useful than asking them to send another screenshot.
They should open:
Transaction History → affected payment → transaction details
Then check the latest status.
The transaction may show:
- Successful,
- Pending,
- Failed,
- Processing,
- Reversed,
- or another status used by the app.
The latest status is more useful than an old screenshot captured immediately after pressing Pay.
Successful, Pending and Failed Are Different
This distinction matters.
Successful
The payment has completed according to the UPI transaction status.
If the recipient still cannot find the money, check the receiving bank account, UPI ID and transaction reference carefully.
Pending
The transaction has not reached a final result yet.
Do not ask the sender to pay again simply because you have not received the money.
Failed
The payment did not complete successfully.
If money was debited from the sender, they should investigate the failed transaction rather than immediately creating another payment.
What If the Screenshot Says Successful?
This is where people become confused.
Suppose the sender shows:
₹2,500 — Successful
but your account still shows no ₹2,500 credit.
Do not immediately say:
“Pay me again.”
First check:
- Is the recipient name correct?
- Is the UPI ID correct?
- Which bank account should receive the money?
- Does the sender’s current transaction still show Successful?
- Is there an RRN or transaction reference?
- Did you check your actual bank statement?
If those details match but the money is genuinely not credited, the transaction may need further investigation.
Our UPI payment successful but money not received guide covers that situation in more detail.
A Screenshot Can Be Genuine but Still Mislead You
Not every problematic screenshot is deliberately fake.
Someone may honestly send an old screenshot by mistake.
They may have made two payments for the same amount.
They may send a screenshot from yesterday instead of today’s transaction.
Or they may capture the screen before the final payment status changes.
So instead of immediately accusing someone of fraud, compare the actual details.
Look at:
- amount,
- date,
- time,
- payee,
- UPI ID,
- transaction reference,
- latest status.
But Fake UPI Payment Screenshots Also Exist
Unfortunately, screenshots can also be deliberately manipulated.
Someone may edit:
- amount,
- recipient name,
- payment status,
- date,
- time,
- or transaction reference.
They may also reuse a genuine screenshot from another transaction.
This is why businesses and individuals should not depend only on an image shown on someone else’s phone.
Our Fake UPI Payment Screenshot guide explains common warning signs in more detail.
Common Warning Signs in a Payment Screenshot
A suspicious screenshot may have details that do not match the real situation.
Look for problems such as:
- wrong recipient name,
- wrong amount,
- unusual date or time,
- missing transaction details,
- reference number that does not match the current transaction,
- inconsistent fonts or spacing,
- parts of the image that look edited,
- screenshot from a different app or transaction,
- or the sender refusing to open the transaction inside their app.
None of these alone automatically proves fraud.
But they are reasons to verify the payment independently.
Do Not Judge Only by How Professional the Screenshot Looks
A fake screenshot can look very convincing.
Modern editing tools can reproduce:
- logos,
- colours,
- fonts,
- payment-success icons,
- QR information,
- and transaction layouts.
So avoid thinking:
“It looks exactly like Google Pay/PhonePe/BHIM, so it must be real.”
A professional-looking image is still just an image.
Your own account record is stronger evidence.
What About a Transaction ID or RRN on the Screenshot?
A screenshot may contain a transaction ID, UPI reference number or RRN.
That information is useful.
But simply seeing a long number does not prove that your account received the payment.
Compare the reference with the actual transaction information where possible.
If the payment needs investigation, the RRN can help the bank or payment provider identify the transaction.
Our UPI RRN vs UTR guide explains these references in easy terms.
Is It Safe to Share the UPI Transaction ID?
A transaction ID or RRN is not the same thing as your UPI PIN.
It can be useful when discussing a payment with the sender, recipient, bank or official support.
However, there is usually no reason to post complete transaction details publicly on:
- social media,
- public Telegram groups,
- forums,
- or random support chats.
Share transaction information only when it is genuinely needed.
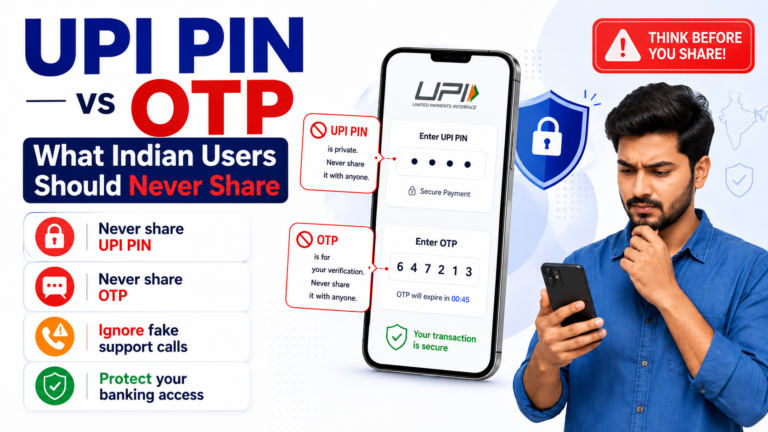
And never include authentication details such as:
- UPI PIN,
- OTP,
- debit-card PIN,
- CVV,
- internet banking password.
Do Not Ask the Sender for Their UPI PIN
If you are the recipient, you do not need the sender’s UPI PIN to confirm whether you received money.
Likewise, the sender should never give it to you.
A UPI PIN is used to authorise transactions.
It is not proof that a previous payment happened.
If someone asks:
“Give me your UPI PIN so I can check the transaction,”
that is a serious warning sign.
Merchants Should Check Before Handing Over Goods
This is especially important for:
- shops,
- restaurants,
- delivery sellers,
- small businesses,
- marketplace sellers,
- and anyone accepting UPI before handing over an item.
Suppose a customer shows a screen saying:
Payment Successful — ₹8,000
but your receiving system has not confirmed the payment.
Do not feel pressured simply because other customers are waiting.
Take a moment to check.
For an important transaction, confirm the payment in:
- your merchant app,
- linked bank account,
- transaction history,
- or another official receiving system you normally use.
A screenshot alone should not replace your own payment record.
Do Not Depend Only on a Soundbox
UPI soundboxes can make payment confirmation convenient for merchants.
But if you are uncertain about a specific payment, check the actual transaction history or merchant account.
For a high-value transaction, it is reasonable to verify more than one signal.
The important thing is to confirm that the payment belongs to the correct transaction and amount.
What If the Sender Is in a Hurry?
Pressure is a common reason people skip payment checks.
The sender may say:
“Look, screenshot is here. I need to go.”
or:
“The bank is slow. You will get it later.”
Do not allow urgency to replace verification.
A genuine customer can usually understand why a merchant needs to confirm payment.
Take a short moment to check the transaction properly.
Do Not Request a Second Payment Too Quickly
There is another risk on the opposite side.
Suppose the sender genuinely paid.
The screenshot is real.
Your bank has not displayed the credit yet.
You ask them to pay again.
Later both transactions arrive.
Now the customer has paid twice.
That creates another problem.
So before requesting another payment, determine what happened to the first one.
What If the Sender’s Account Was Debited?
If the sender shows that their bank account was debited, that is important information.
But you should still check the transaction status.
A debit can occur even when a transaction later needs to be reversed or reconciled.
Ask the sender to check:
- current transaction status,
- recipient details,
- RRN,
- amount,
- and their bank statement.
Do not use the debit alone as proof that your account was credited.
What If the Sender Shows Pending?
If the transaction says Pending, the payment is not yet final.
The sender should not repeatedly create new payments.
And the recipient should not treat the screenshot as confirmed receipt.
Wait for the transaction status to update or use the appropriate UPI complaint process if needed.
A pending transaction requires a different response from a successful transaction.
What If the Screenshot Shows Failed?
Then the screenshot itself is already telling you that the payment did not complete.
If the sender’s money was debited, they should follow the failed-payment or reversal process.
The recipient should not mark the invoice or order as paid based on a failed screenshot.
What If the Sender Paid the Wrong UPI ID?
A transaction can be genuine and successful while still going to the wrong account.
This is why you should compare the UPI ID.
Suppose your correct ID is:
shopname@bank
but the sender paid:
shopnames@bank
If that second UPI ID is valid and belongs to someone else, their Successful screenshot does not mean you received the money.
Always check the destination.
An Old QR Code Can Also Cause Confusion
Businesses sometimes change:
- bank accounts,
- payment providers,
- UPI IDs,
- or merchant setups.
If an old QR remains on:
- a printed menu,
- counter,
- old invoice,
- social media image,
- or saved screenshot,
the sender may pay an account you no longer actively monitor.
So keep payment QR codes current.
And if a transaction is missing, confirm which QR was actually used.
What If You Cannot Find the Payment at All?
If your account has no matching credit:
- Confirm the expected amount.
- Check the correct bank account.
- Confirm your UPI ID.
- Ask the sender to open their current transaction details.
- Check the status.
- Compare date and time.
- Save the RRN/reference.
- Do not request another payment until the first transaction is understood.
If the sender’s transaction genuinely shows Success but your correct account was not credited, official support may need to investigate.
When Should the Sender Contact Their Bank?
The sender should contact their bank or UPI app if:
- their account was debited,
- the transaction did not complete correctly,
- the status remains unclear,
- or the transaction details appear inconsistent.
They should keep:
- amount,
- date and time,
- RRN,
- recipient UPI ID,
- transaction ID.
They should not share their UPI PIN or OTP with anyone investigating the transaction.
When Should the Recipient Contact Their Bank?
The recipient may need to contact their bank when:
- the sender’s transaction shows Successful,
- recipient details appear correct,
- the expected account is correct,
- but the credit still cannot be found.
Keep the transaction reference and normal payment information ready.
An official bank investigation is more useful than arguing about screenshots.
Be Careful With Fake “Payment Verification” Services
Someone may offer to check whether a screenshot is genuine.
Then they ask you to:
- install software,
- share OTP,
- share UPI PIN,
- enter card information,
- connect your bank account,
- or send a small verification payment.
Do not do this.
You do not need to give a stranger control of your financial account to check whether you received a UPI payment.
Use your bank, UPI app or official payment provider.
Before Accepting a UPI Screenshot as Payment Proof
Use this checklist:
- Check your own bank account.
- Check the correct account linked to your UPI ID.
- Confirm the exact amount.
- Confirm the recipient name.
- Check the UPI ID or QR used.
- Ask the sender to open the transaction live if needed.
- Check whether the status is Successful, Pending or Failed.
- Compare the date and time.
- Save the RRN or transaction reference if there is a problem.
- Do not rely only on an SMS or screenshot.
- Do not ask for another payment until the first one is understood.
- Never share UPI PIN or OTP to “verify” a payment.
The easiest rule to remember is:
A screenshot shows what appeared on someone’s screen. Your bank account shows whether you actually received the money.
Check your bank account before accepting a screenshot as proof of payment.