UPI Complaint Status: How Indian Users Can Raise and Track a UPI Dispute
A UPI payment problem does not always end after you close the payment screen.
Sometimes the money is debited.
Sometimes the transaction remains pending.
Sometimes the recipient does not receive the money.
And sometimes you have already reported the problem but do not know what happened to your complaint.
That creates a second question:
How do you check your UPI complaint status?
Before raising multiple complaints or contacting different support teams, it helps to understand where the original transaction happened, which details you should save and where the complaint should be tracked.
The process is usually easier when you start from the affected transaction itself.
First, Identify the UPI Problem
Do not raise a complaint without first checking what happened.
Open your UPI app and find the transaction.
Look at the latest status.
It may say:
- Successful
- Failed
- Pending
- Processing
- Declined
- Reversed
Different transaction problems may need different actions.
For example, a payment that is still Pending is not the same as a successful payment sent to the wrong person.
And a declined payment with no debit is different from a failed payment where money already left your account.
Start with the actual status shown in the app.
Check Whether Money Was Debited
Next, check your bank account.
Do not rely only on the UPI app.
Confirm whether the amount actually left your bank account.
If the transaction failed but your account was not debited, there may be nothing to recover.
If the amount was debited, save the transaction details before doing anything else.
This information can become important if you need to raise a complaint.
Our UPI payment failed or pending guide explains what to check when a payment does not complete normally.
Find the Transaction in Your UPI App
The easiest place to start a complaint is usually the transaction history.
Open the UPI app you used for the payment.
Then:
- Open Transaction History.
- Select the affected payment.
- Check the latest transaction status.
- Look for Help, Report Issue, Raise Complaint or a similar option.
The exact button can look different depending on the app.
Do not worry if your screen does not use exactly the same wording.
The important thing is to start from the specific transaction that caused the problem.
Why Starting From the Transaction Helps
A UPI app already has important information about that payment.
This may include:
- amount,
- date and time,
- payer,
- recipient,
- UPI ID,
- transaction ID,
- RRN or reference number,
- transaction status.
Starting from the transaction reduces the chance of reporting the wrong payment.
This is especially useful if you made several UPI payments on the same day.
What Is the RRN?
RRN usually refers to the reference number connected to the payment.
Depending on the app, you may also see terms such as:
- UPI Reference Number,
- Bank Reference Number,
- Transaction ID,
- UTR,
- or another transaction reference.
The labels are not always identical between apps.
The important thing is to save the number shown with the affected transaction.
It can help the app, bank or payment system identify the exact payment you are asking about.
Our UPI RRN vs UTR guide explains these reference numbers in more detail.
Save the RRN Before Contacting Support
Imagine telling your bank:
“I made a ₹5,000 payment yesterday and it failed.”
That may not be enough information.
Your bank may need to identify the exact transaction.
It is much better to have:
- transaction date,
- approximate time,
- amount,
- recipient,
- UPI ID if available,
- RRN/reference number,
- UPI app used.
Keep these details together until the problem is resolved.
How Do You Raise a UPI Complaint?
For many UPI apps, the basic process is simple:
- Open the affected transaction.
- Select the help or complaint option.
- Choose the issue that best matches what happened.
- Submit the complaint.
- Save the complaint reference.
For example, the available problem may relate to:
- money debited but transaction failed,
- transaction pending,
- recipient not credited,
- merchant payment issue,
- refund not received,
- or another payment problem.
Choose the option that most accurately describes your transaction.
Do not select a random complaint category simply because it allows you to submit the form.
Can You Raise a Complaint Immediately?
Some UPI complaint systems may not allow a complaint at the exact second a transaction occurs.
The transaction may first need time to update its final status.
So if a payment has just happened, refresh the transaction details before assuming it is permanently stuck.
A status that initially appears Pending may later update.
But that does not mean you should wait indefinitely.
If the app provides a complaint option for the transaction, use it according to the instructions shown.
What Is a UPI Complaint Reference Number?
After submitting a complaint, you may receive a complaint reference or ticket number.
Save it.
This number identifies the complaint itself.
Do not confuse it with the payment RRN.
You may therefore have:
Payment reference / RRN
and separately:
Complaint reference / ticket number
Both can be useful.
The payment reference identifies the transaction.
The complaint reference identifies the support case about that transaction.
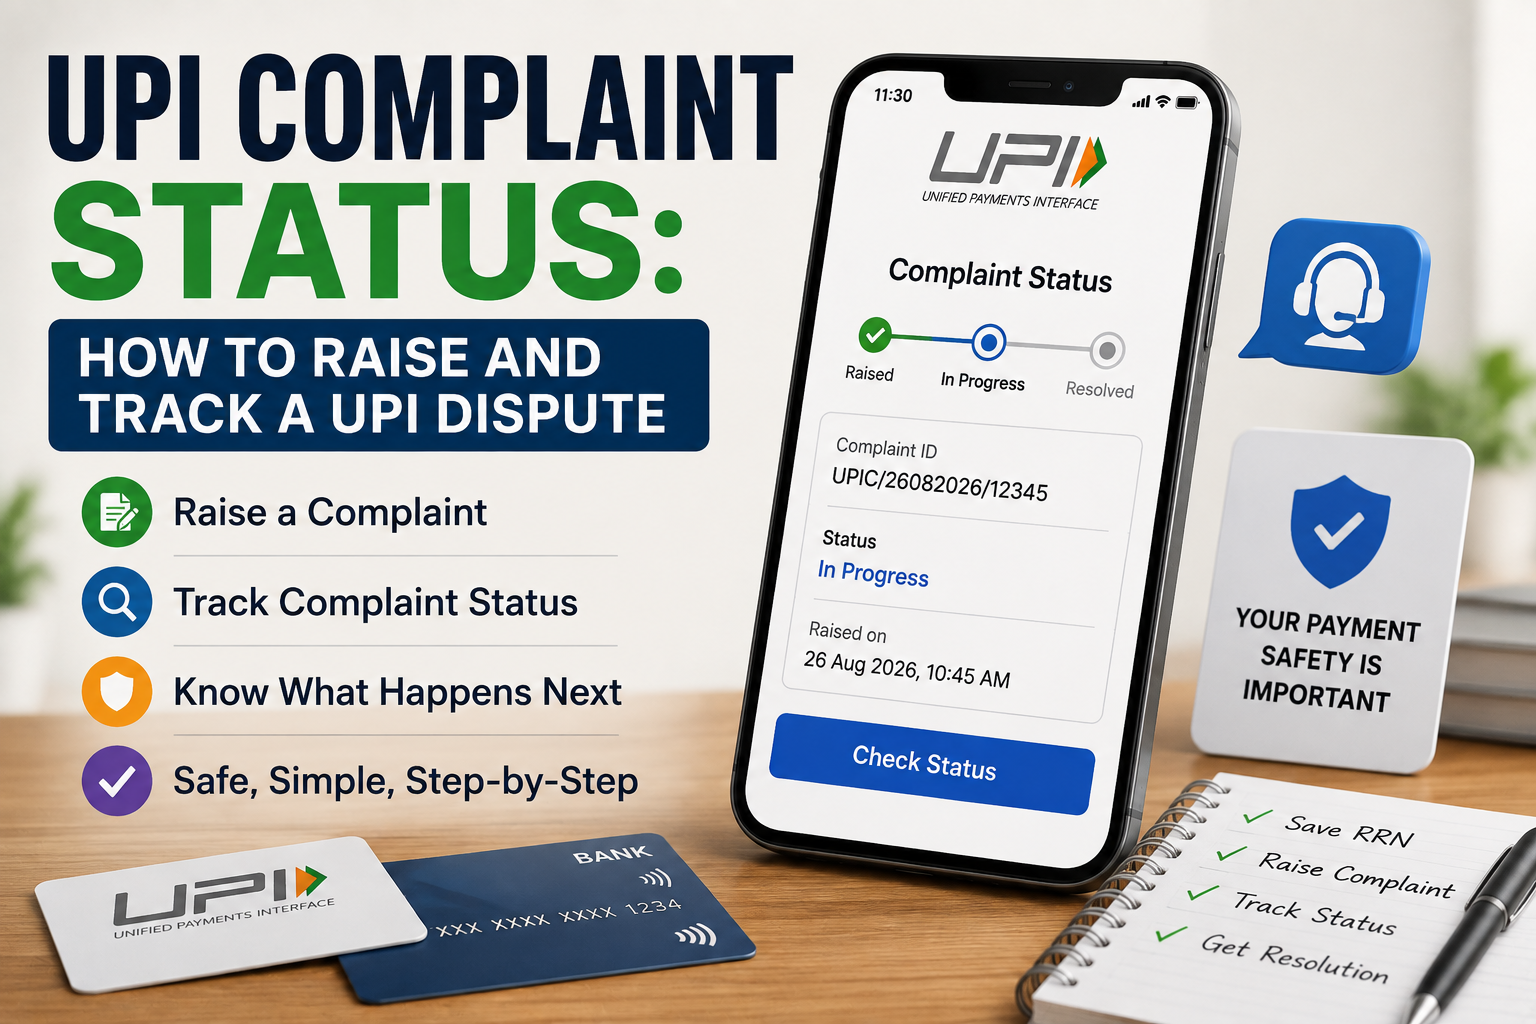
How Do You Check UPI Complaint Status?
Go back to the transaction where you raised the complaint.
Depending on the UPI app, you may see an option such as:
Check Complaint Status
or another support/status option.
The complaint may show a status such as:
- Open
- Raised
- In Progress
- Resolved
- Closed
- or another similar term.
The exact wording can vary.
Do not assume that every app uses the same status names.
“Complaint Raised” Does Not Mean the Money Is Already Refunded
This is an important distinction.
If the app says:
Complaint Raised
that usually means the issue has been registered.
It does not automatically mean:
Refund completed
or:
Payment reversed
Continue checking both:
- complaint status,
- and bank account transaction history.
The final result matters more than the fact that the complaint was successfully submitted.
Check Your Bank Account While the Complaint Is Open
Suppose you raised a complaint because money was debited during a failed transaction.
Do not check only the complaint page.
Also check your bank account.
Sometimes a reversal may appear in the bank account before you notice an update in another screen.
Look for:
- reversal,
- refund,
- credit,
- or another entry matching the original amount.
Compare the amount and date carefully.
What If the Complaint Says Resolved?
Do not immediately close everything.
Check what resolution actually occurred.
For example:
- Was the money reversed?
- Was the recipient credited?
- Did the transaction status change?
- Did the bank explain the result?
A complaint marked Resolved should correspond with what happened to the money.
If it does not, keep the complaint reference and contact the relevant bank or app again.
What If the Complaint Says Closed but the Problem Is Still There?
Do not open five new complaints immediately.
First check the reason for closure.
Then gather:
- original RRN,
- complaint reference,
- transaction amount,
- account debit or credit information,
- any response you received.
Contact the bank or UPI app and explain that the complaint was closed but the financial issue remains unresolved.
Providing the previous complaint reference can make the conversation clearer.
When Should You Contact Your Bank?
Your bank becomes especially important when money has actually moved from or into a bank account.
Contact the bank if:
- money was debited but the issue remains unresolved,
- the app repeatedly cannot explain the transaction,
- a complaint was closed without the expected reversal,
- the transaction information appears inconsistent,
- or you need confirmation of a debit or credit.
You do not have to assume the UPI app is the only place that can help.
UPI payments involve participating banks as well as payment apps.
Your Bank Should Not Need Your UPI PIN
When discussing a complaint, you can provide normal transaction information.
But never provide:
- UPI PIN,
- OTP,
- ATM PIN,
- debit card PIN,
- CVV,
- internet banking password.
These are authentication credentials.
They are not complaint reference numbers.
A genuine bank investigation does not require you to tell another person your UPI PIN.
What If the Transaction Was Fraudulent or Unauthorised?
This is different from an ordinary failed payment.
If you see a transaction that you did not make or approve, do not treat it only as:
“UPI payment failed.”
Contact your bank promptly through an official channel.
Report the unauthorised transaction and follow the bank’s fraud-reporting process.
Do not wait for a stranger on social media to “investigate” it.
And do not send another payment to anyone claiming they can recover the money.
A Complaint Is Different From a Fraud Report
This distinction is useful.
A normal UPI complaint may involve:
- failed payment,
- pending payment,
- refund issue,
- recipient not credited,
- transaction status problem.
A fraud or unauthorised transaction involves money that you believe was transferred without your permission or through deception.
The second situation may require more urgent action with your bank.
Do not use a normal transaction complaint as a substitute for reporting fraud.
What If You Paid the Wrong Person?
A successful payment to the wrong UPI ID is another different situation.
If the payment successfully reached a valid recipient, simply raising a generic “failed transaction” complaint would not accurately describe what happened.
Check:
- recipient name,
- UPI ID,
- amount,
- transaction status,
- RRN.
Then contact your bank or UPI provider and explain that the payment went to an unintended recipient.
Our UPI payment sent to the wrong person guide explains this situation separately.
What If the Payment Was Successful but the Recipient Did Not Receive It?
Do not raise repeated complaints before checking the details.
First confirm:
- your bank account was debited,
- transaction status says Successful,
- recipient name is correct,
- UPI ID is correct,
- recipient checked the correct bank account,
- RRN exists.
If everything appears correct but the beneficiary still cannot find the money, the transaction may need investigation.
Our UPI payment successful but money not received guide covers those checks step by step.
Pending Payments Need a Different Check
A Pending transaction does not yet have the same final outcome as Failed or Successful.
If the transaction remains pending, keep checking its latest status.
Do not create another payment simply because the first one has not completed yet.
If the app allows you to raise a complaint for that transaction, use the correct pending-payment reason.
And save the transaction reference.
Do Not Raise Multiple Complaints for the Same Payment Too Quickly
It can be tempting to think:
“One complaint did not work, so I will submit ten.”
That usually does not make the investigation clearer.
Instead, keep:
- the original complaint reference,
- payment RRN,
- bank response,
- app response.
If you need to escalate, refer to the existing case.
A clear complaint history is better than several duplicate tickets for the same payment.
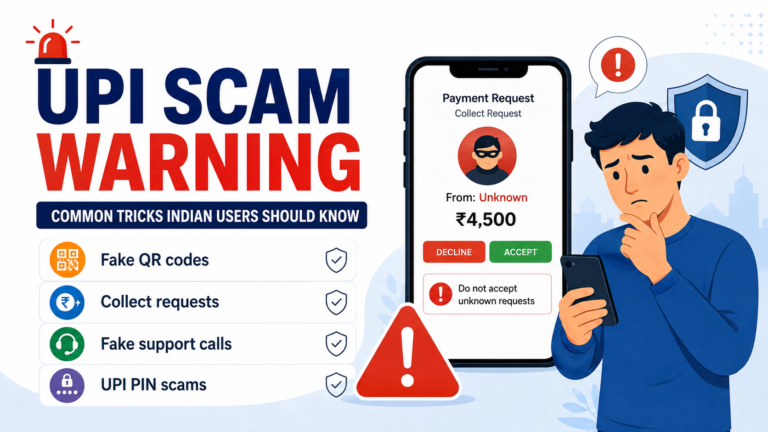
Be Careful With Fake UPI Support Numbers
This is one of the most important safety checks.
People searching online for:
UPI complaint number
or:
UPI customer care
can encounter fake support numbers.
A scammer may pretend to be:
- bank support,
- UPI support,
- payment app support,
- refund support.
They may ask you to:
- install a screen-sharing app,
- enter your UPI PIN,
- approve a collect request,
- share OTP,
- send a “verification payment”.
Do not do this.
Use the support option inside the official UPI app or the official contact method of your bank.
Never Pay a “Complaint Processing Fee” to a Stranger
A scammer may tell you:
“Your refund is approved, but pay ₹10 first to activate it.”
Or:
“Enter your PIN to receive the refund.”
Be careful.
A legitimate complaint should not require you to transfer money to a random personal UPI ID simply to release your own funds.
Read every UPI screen before authorising anything.
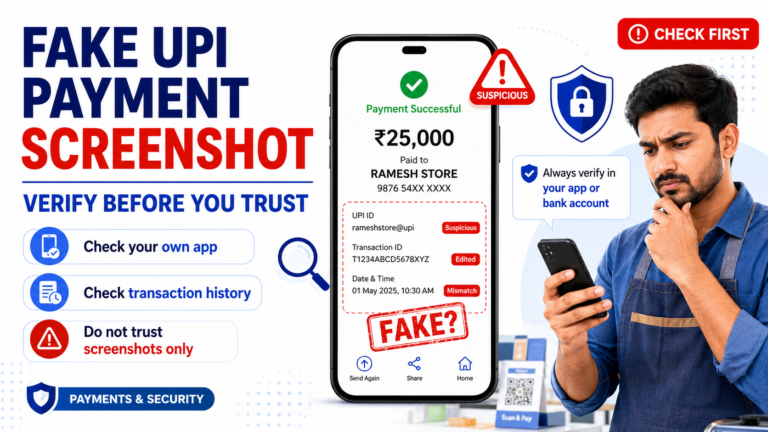
Keep Screenshots, but Do Not Depend Only on Screenshots
A screenshot can help document:
- an error message,
- transaction status,
- complaint status.
But also keep the actual transaction details.
Screenshots can miss important information or become outdated after a status changes.
The most useful combination is:
- current transaction status,
- RRN,
- bank statement,
- complaint reference,
- relevant screenshots.
When Does RBI Become Relevant?
For most UPI problems, start with the UPI app and the bank involved.
RBI’s Ombudsman mechanism is not intended to replace the first complaint to the regulated entity.
If your complaint remains unresolved after following the relevant complaint and escalation process, or you are dissatisfied with the regulated entity’s response, the RBI grievance mechanism may become relevant.
Keep your original complaint information because you may need to show that you first approached the bank or other regulated entity.
Do Not Escalate Before Checking the Existing Complaint
Before moving to another authority, check:
- Did you actually submit a complaint?
- Do you have the complaint reference?
- Has the bank or app responded?
- Has the transaction already been reversed?
- Is the complaint still within the applicable resolution process?
- Did you contact the correct bank?
Escalation is useful when the normal process has not resolved the issue.
It is not a substitute for checking the first complaint.
Keep a Simple Complaint Record
You do not need a complicated spreadsheet.
For an important payment issue, save:
Transaction: ₹5,000
Date: 26 August
Status: Failed
RRN: [reference number]
Complaint raised: Yes
Complaint reference: [ticket number]
Bank contacted: Yes/No
Current result: Waiting / Reversed / Resolved
This makes it much easier to explain the case later.
Just do not save sensitive credentials such as your UPI PIN or OTP.
A Simple UPI Complaint Checklist
If you have a UPI payment problem:
- Open the affected transaction.
- Check its latest status.
- Check whether your bank account was debited.
- Save the RRN or transaction reference.
- Raise the complaint from the transaction if available.
- Choose the correct complaint reason.
- Save the complaint reference.
- Check the complaint status instead of repeatedly submitting new complaints.
- Check your bank account for reversal or credit.
- Contact your bank if the issue remains unresolved.
- Report unauthorised transactions to your bank promptly.
- Never share your UPI PIN, OTP or banking password with “support”.
A complaint is easier to track when you keep the transaction and complaint references together.
Do not focus only on whether the app says Complaint Raised.
What matters is the final result of the payment: whether the money was credited correctly, reversed when necessary or otherwise resolved.