UPI Payment Successful But Money Not Received? What Indian Users Should Check
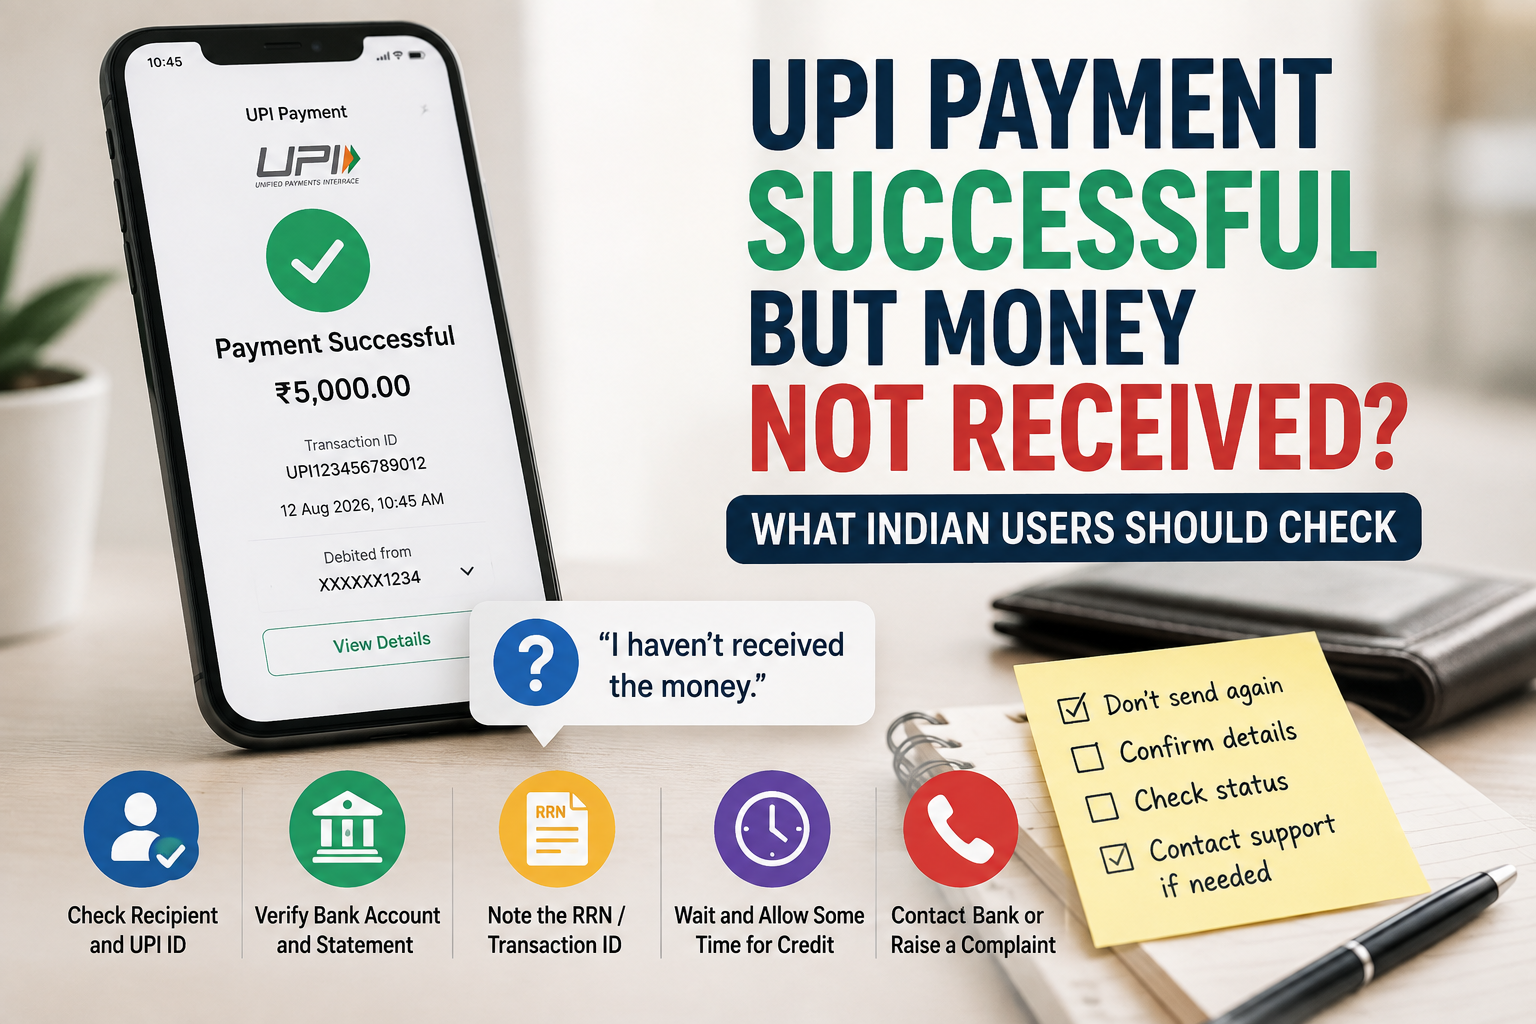
UPI payment successful but money not received by the other person?
This situation can be confusing.
Your UPI app may show Successful.
Your bank account may already be debited.
You may even have a transaction ID or reference number.
But the recipient says:
“I have not received the money.”
The first reaction is often to send the payment again.
Do not do that yet.
Before making another UPI payment, check what actually happened to the first transaction.
A few simple checks can help you understand whether the problem is a delayed bank credit, an incorrect recipient, a merchant-payment issue or simply a balance that has not refreshed yet.
First, Do Not Send the Payment Again
This is the most important first step.
Suppose you send ₹5,000.
Your app shows Successful.
The recipient says the money is not there.
You become worried and send another ₹5,000.
A little later, the first payment appears.
Now the recipient may have received ₹10,000 instead of ₹5,000.
Sending again before checking the first payment can create a second problem.
So keep the first transaction open and investigate it first.
Check Whether Your Bank Account Was Actually Debited
Do not rely only on the green success screen in the UPI app.
Open your bank account transaction history or bank statement.
Look for the debit.
Confirm:
- the amount,
- transaction time,
- recipient details if shown,
- and reference number.
If your bank account was not actually debited, the situation is different from a completed payment where money has already left your account.
If the amount was debited, continue checking the transaction.
Check the Exact UPI Transaction Status
Open the transaction inside the UPI app.
Do not rely on a screenshot you saved earlier.
Look at the current status.
It may say:
- Successful,
- Pending,
- Processing,
- Failed,
- Reversed,
- or another similar status.
These are not the same situations.
If the transaction now shows Pending instead of Successful, follow the pending-transaction process rather than treating it as a completed payment.
Our UPI payment failed or pending guide explains those cases separately.
“Successful” Should Mean Both Sides Completed
A properly completed UPI transfer is not supposed to mean only that money left the sender.
NPCI describes a successful transaction as one where the sender is debited and the receiver is successfully credited.
So when your app says Successful but the recipient says no money arrived, it is worth checking the underlying details rather than assuming the status screen tells the whole story.
The recipient may be looking at the wrong account.
Their banking app may not have refreshed.
You may have paid a different UPI ID.
Or there may be a bank-side reconciliation issue.
Ask the Recipient to Check the Bank Account, Not Only the UPI App
This simple step is often overlooked.
The recipient may open their UPI app and not immediately see the payment.
Ask them to check the actual linked bank account.
They can look at:
- recent transactions,
- account statement,
- SMS alerts,
- or net banking/mobile banking history.
The important question is:
Was the beneficiary bank account credited?
The UPI app interface and the underlying bank account are related, but they are not always the same screen.
A delayed app update does not necessarily mean the bank account has not received the money.
Confirm Which Bank Account the Recipient Is Checking
Many Indian users have more than one bank account.
A person may have:
- SBI,
- HDFC Bank,
- ICICI Bank,
- Axis Bank,
- or another account
connected to one or more UPI apps.
The UPI ID you paid may be linked to a different bank account from the one the recipient is checking.
For example, the recipient may open Bank Account A while the UPI ID you paid is currently mapped to Bank Account B.
So ask the recipient to check which account is linked to the UPI ID used in your transaction.
Check the Recipient Name
Open the original transaction.
Look at the recipient name shown by the UPI app.
Does it match the person or business you intended to pay?
Do not check only the amount.
A ₹2,000 payment can be successfully sent to the wrong recipient.
If the name looks unfamiliar, stop before making another transfer.
Check the UPI ID You Paid
Look carefully at the UPI ID or payment address used.
A UPI ID may look something like:
name@bank
or another provider-specific format.
Compare it with the recipient’s current UPI ID.
One small difference can matter.
For example:
rahul123@upi
and
rahul132@upi
are not the same identifier.
A transaction can be successful even if you successfully paid the wrong valid UPI ID.
That is very different from a bank delay.
Be Extra Careful With Manually Entered UPI IDs
Typing a UPI ID manually creates another opportunity for error.
You may:
- miss a character,
- swap two numbers,
- choose an old ID,
- or select the wrong saved contact.
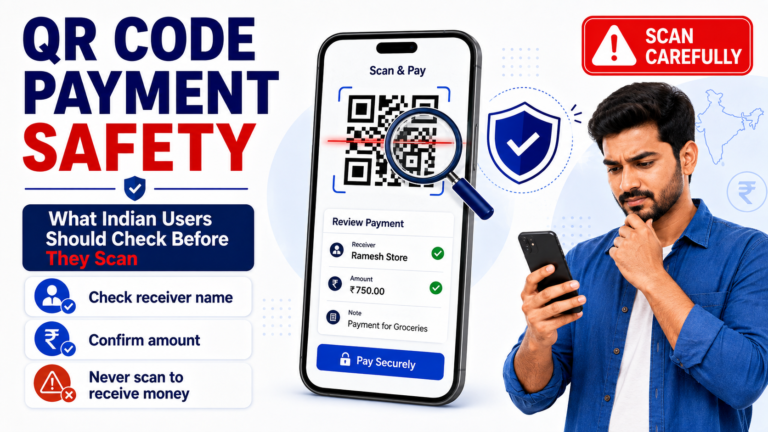
Always check the recipient information shown before entering your UPI PIN.
After the transaction, the same information can help determine whether the payment went where you intended.
What If You Paid Through a QR Code?
QR payments need a slightly different check.
Open the transaction details and check the merchant or recipient information.
If you scanned a QR code at a shop, restaurant or other business, the UPI ID may belong to:
- the merchant,
- a payment provider,
- a business account,
- or another account used for collection.
Do not assume the employee standing in front of you will see the money in their personal bank account.
For merchant payments, the merchant’s own system may also be involved in confirming the payment.
P2P Payments and Merchant Payments Are Not Exactly the Same
This difference becomes important when discussing timelines.
For a normal UPI fund transfer where the sender’s account is debited but the beneficiary account is not credited, RBI’s failed-transaction framework specifies auto-reversal by the beneficiary bank by T+1 day if the credit cannot be completed. RBI defines T as the calendar date of the transaction.
For a merchant payment where the account is debited but transaction confirmation is not received at the merchant location, RBI’s framework provides a different outer timeline of T+5 days for auto-reversal.
This is why advice such as “all UPI problems take exactly 48 hours” is too broad.
First identify what type of payment you made.
Find the RRN or Transaction Reference Number
When investigating a UPI payment, the reference number is very useful.
Depending on your app, you may see terms such as:
- RRN,
- UPI Reference Number,
- Transaction ID,
- Bank Reference Number,
- or UTR.
The labels can be confusing.
Keep the number shown with the transaction.
NPCI’s own complaint system uses the transaction number/RRN when a user raises a payment complaint.
If you are unsure about the difference between these numbers, our UPI RRN vs UTR guide explains them in simple terms.
Send the RRN to the Recipient When Appropriate
If the recipient genuinely cannot find the payment, the reference number can help them speak with their bank.
Instead of saying only:
“I sent ₹3,000 yesterday.”
you can provide:
- amount,
- date and time,
- sender name,
- UPI reference/RRN,
- and relevant non-sensitive transaction details.
Do not send your UPI PIN, OTP or banking password.
Those are never needed just to trace a normal incoming payment.
Do Not Use a Screenshot as the Only Proof
A payment screenshot can be useful for communication.
But it should not be your only way of checking the transaction.
Screenshots can be:
- outdated,
- edited,
- incomplete,
- or missing important reference information.
Use the actual transaction details inside the UPI app and bank records.
This is especially important when money is disputed between two people.
What If the Recipient Says “I Checked Everything”?
Then move from visual checks to transaction checks.
Confirm:
- Your account was debited.
- The transaction still shows Successful.
- The recipient name is correct.
- The UPI ID is correct.
- The amount is correct.
- The RRN/reference number exists.
- The recipient checked the correct bank account.
If all seven are correct and the beneficiary account truly has not been credited, it is reasonable to raise the issue through the UPI app or your bank.
Raise the Complaint From the Transaction Itself
Many UPI apps allow users to raise a complaint from transaction history.
The exact buttons vary by app, but the general process may be:
- Open Transaction History.
- Select the affected payment.
- Choose Help, Report Issue or Raise Complaint.
- Select the closest reason.
- Save the complaint reference number.
NPCI’s UPI Help guidance specifically supports raising transaction-related complaints through the UPI payment app.
Keep the complaint number until the issue is resolved.
Your Bank Should Be Able to Investigate the Payment
Do not assume that using a third-party UPI app means your bank cannot help.
UPI transactions involve the UPI app, remitter bank, beneficiary bank and other payment-system participants.
NPCI guidance also allows users to raise grievances or check UPI transaction status through participating UPI apps and banks.
If the first-level app support is not useful, contact the bank linked to the transaction.
What Happens If the Beneficiary Truly Was Not Credited?
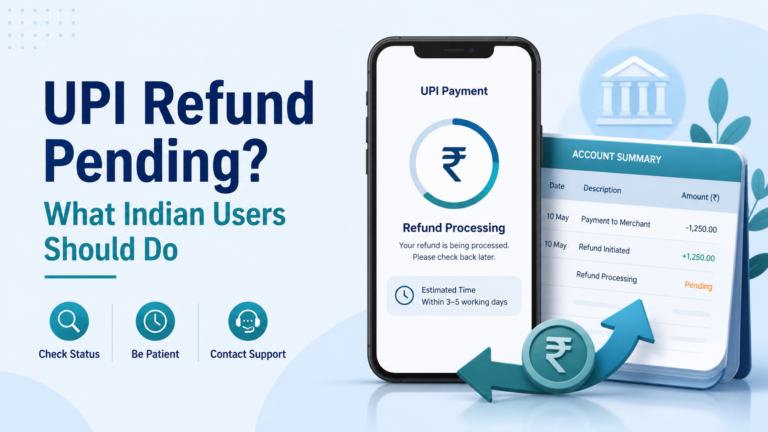
For a person-to-person fund transfer covered by RBI’s failed-transaction framework, if the sender was debited but the beneficiary cannot be credited, the prescribed outer limit for auto-reversal is T+1 calendar day. The framework also specifies compensation of ₹100 per day for delay beyond that timeline.
That does not mean every confusing “recipient says not received” situation automatically qualifies.
First establish that this is actually a failed beneficiary credit and not a wrong recipient, merchant issue or display problem.
Do Not Confuse “Not Received” With “Pending”
If your transaction actually says Pending, the troubleshooting path changes.
A Pending payment means the final status may not yet be available.
Do not force it into the Successful category simply because your account has already been debited.
Check the latest transaction status first.
If your UPI app itself is having wider problems—payments not starting, bank account unavailable or repeated technical errors—our UPI not working guide covers those situations separately.
What If You Accidentally Paid the Wrong Person?
This is one of the most serious possibilities.
If the transaction shows Successful and the recipient details belong to someone else, the issue is not simply:
“My UPI payment is delayed.”
The money may have reached the valid account you selected.
Do not send another payment until you confirm this.
Contact your bank or UPI provider promptly and explain that the transaction went to an unintended recipient.
Do not trust strangers who promise guaranteed recovery in exchange for another payment.
Never Share Your UPI PIN to Trace a Payment
A bank employee, recipient or support agent does not need your UPI PIN to confirm whether a previous payment arrived.
Never provide:
- UPI PIN,
- OTP,
- debit-card PIN,
- CVV,
- internet-banking password,
- screen-sharing access.
Your RRN and normal transaction details are useful for investigation.
Your authentication credentials are not.
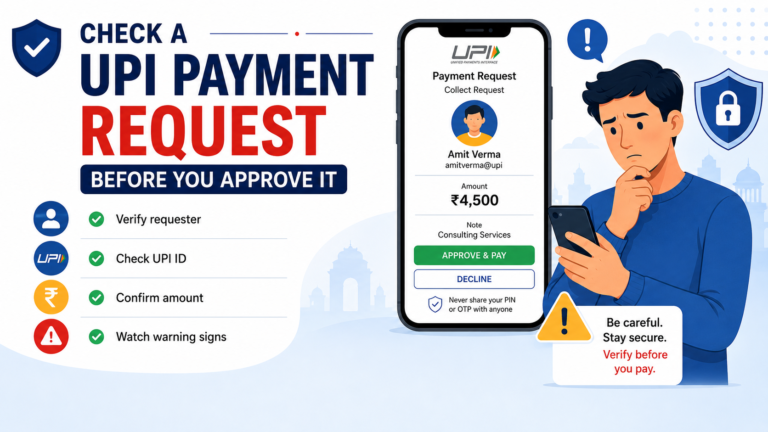
Be Careful With “Refund” Collect Requests
A scammer may say:
“I will refund your payment. Accept this request and enter your UPI PIN.”
Be careful.
Entering a UPI PIN normally authorises money leaving your account.
You do not need to enter your UPI PIN simply to receive a normal payment.
Always read what the UPI app is asking you to approve.
Do not authorise a collect request you do not understand.
When Should You Escalate the Complaint?
Start with the UPI app and the bank involved.
Keep:
- transaction date,
- amount,
- RRN,
- complaint number,
- screenshots of relevant non-sensitive details,
- and responses from the bank.
For unresolved complaints involving a regulated entity, RBI’s current Integrated Ombudsman Scheme 2026 requires the customer to first approach the concerned entity. In general, an Ombudsman complaint should not be filed before the applicable RBI/NPCI timeline or 30 days, whichever is higher, unless a reply or resolution has already been received and the customer is dissatisfied.
For most users, the practical first step remains much simpler: raise the transaction complaint with the UPI app or bank and keep the reference number.
A Simple Checklist Before You Pay Again
If your UPI payment says Successful but the recipient says the money is missing, check this before sending another rupee:
- Was your bank account actually debited?
- Does the transaction still show Successful?
- Is the recipient name correct?
- Is the UPI ID correct?
- Is the recipient checking the correct bank account?
- Did they check their bank statement, not only the UPI app?
- Do you have the RRN or transaction reference?
- Was this a person-to-person transfer or merchant payment?
- Have you raised a complaint through the app or bank if needed?
- Have you avoided sending the same payment again?
The main rule is simple:
Do not pay twice just because the first payment is not immediately visible to the recipient.
Check the original transaction, identify the correct recipient and use the RRN to investigate it first.